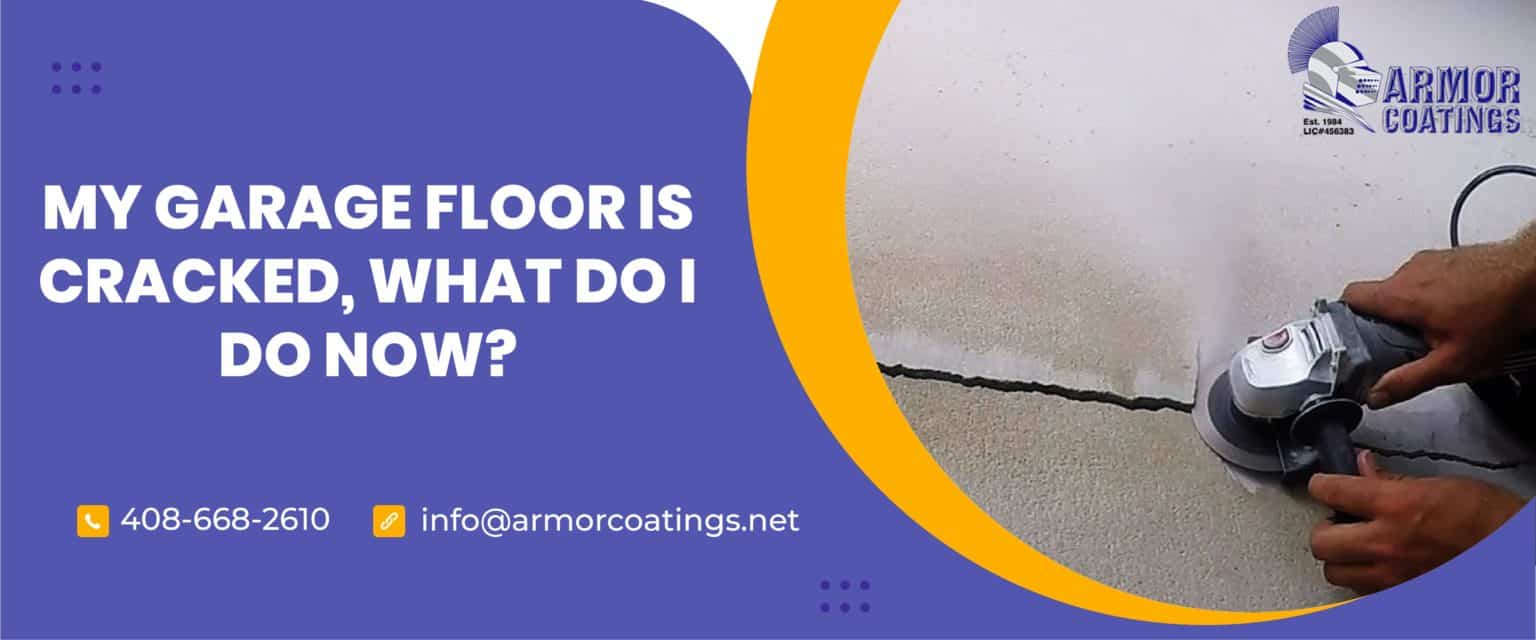
Are you one of the countless homeowners out there who wonders why cracks appear on their garage floors?
Have you considered purchasing an epoxy flooring system?
Perhaps you’ve questioned how this happened even after you took extra care in pouring the concrete. You are not alone. In fact, you might be surprised to know that cracks in garage floors are quite common. In most cases, this isn’t something that you should be worried about – unless the opening is bigger than 1/8-inch in terms of width or if both sides of the crack are not of the same level where one side is higher than the other.

Cracks on concrete garage floors usually appear due to various reasons. However, the most common ones include shrinking, settlement, poor installation and drainage.
Shrinkage
In case you’re not aware, it’s only natural for concrete surfaces to shrink during the curing process. When they do, cracks appear. This means that you won’t have to lose sleep over the cracks of your new concrete garage floor because these are normal.
Settlement
The soil that your house is sitting on can move and sink as the years go by. This natural process is often referred to by many as settlement. The problem with settlement is that it can put a great deal of pressure on concrete garage floors, causing cracks to appear on the surface. However, it’s important to note that homeowners must take settlement cracks seriously, especially if they continue to grow and widen.
If these are left unattended, the cracks will ultimately collect water and moisture that could quickly progress into a much bigger issue. In some cases, big settlement cracks can even cause certain areas in the garage to sink which leaves the entire area vulnerable to flooding.
One of the factors that contribute to the amount of pressure applied to the concrete is the weight of your vehicle. However, this largely depends on the layout of your garage as well. In the meantime, keep an eye out for wide cracks. Call a professional right away if you spot a crack with one side that’s lower than the other because this indicates a potentially serious structural problem. The sooner you identify a settlement crack, the better.
Poor Installation
When the concrete is badly installed, its surface becomes more vulnerable to cracking. This usually happens when a thin slab of concrete isn’t reinforced by steel bars or a mesh of steel wires when this was needed. The result is a gravel base that’s far from being sufficient.
Poor Drainage
Another reason behind the formation of cracks on garage floors is poor drainage. This would ultimately lead to flooding. If the type of soil that’s under your garage is dense or has heavy clay in it, it would cling to moisture and freeze during the winter season. As the soil freezes over, it expands and causes the concrete slab to heave and crack.
Cut both sides of the cracks.
You have the option to use a circular saw or a diamond blade to cut both sides of the cracks. Be sure that the grooves are about half an inch in terms of size before filling them up, along with the crack with cement. Make sure that the cement you’re using is polymer-modified.
Chip out the cracked concrete and remove it.
In order to remove the cracked portion of the concrete, you’ll need to slowly and carefully chip that part out with the use of a maul or a cold chisel. Be careful when you’re doing this because you could hurt yourself when you’re working on the small chips. After you get rid of the chipped pieces, you’ll need to vacuum the area. It’s extremely important to make sure that the concrete is thoroughly cleaned so that the compound could easily bond on its surface. You can use a power washer to get the job done.
Fill in the crack.
Before you pack the concrete mix into the channel, make sure that you’ve already added the latex modifier to the mix. When you’re filling it, let it reach up to about 1/2 inch of its original height. Allow it to sit for the next 72 hours or 3 days before filling it in with a resurfacer. In order to make sure that the resurfacer will be a lot stronger, be sure that it has a solid base.
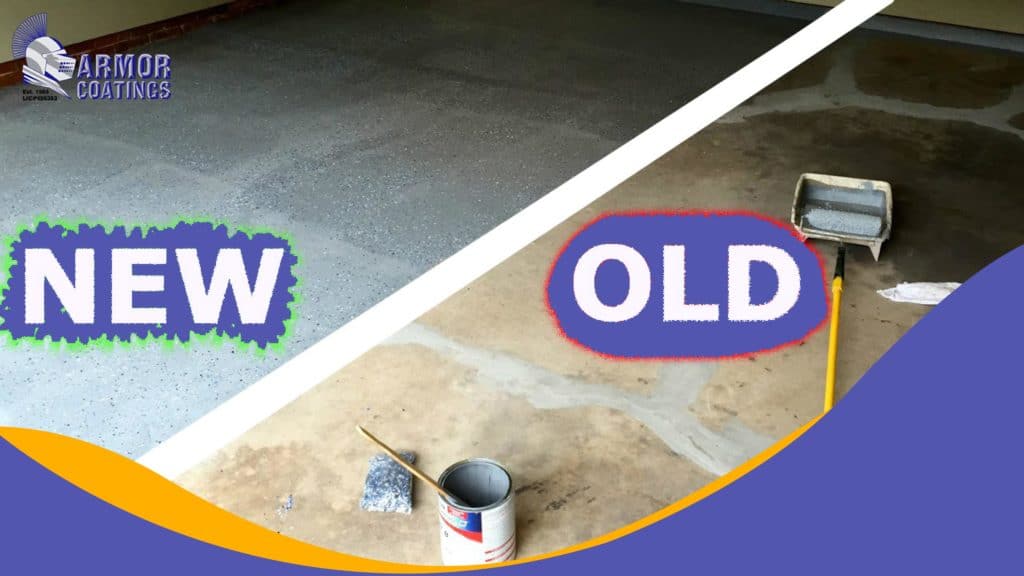
Pour the resurfacer into the crack.
While you’re at it, make sure that you evenly pour the resurfacing mixture into the concrete slab before smoothing it all out. A rubber floor squeegee will make it easier for you to do so. Don’t forget to feather the slab’s edges the way the pros do. In terms of the concrete resurfacing mixture’s consistency, be sure to add enough water into it so that you can come up with a consistency that’s similar to that of a pancake batter. Fill the groove with the mixture and smooth it out.
People who have been working with concrete for quite some time are aware of the fact that at some point, the concrete surfaces crack. In other words, don’t be surprised if you spot shrinkage cracks on the surface of your concrete garage floor – even right after the mixture is poured. Furthermore, it may take a little over a year before settlement cracks begin to take form. If you built your house on dense and expansive soils or if your house is a little old, you can expect to see more cracks on your garage floor.
However, when you do get to see those cracks, you’ll still need to determine if they’re something you should be worried about or if they’re merely the result of the floor’s age and your home’s geographic location. Based on what we have mentioned earlier, there are many possible reasons for your garage’s concrete surfaces to crack – and most of them will not lead to major problems that are related to the foundation and structure of your home.